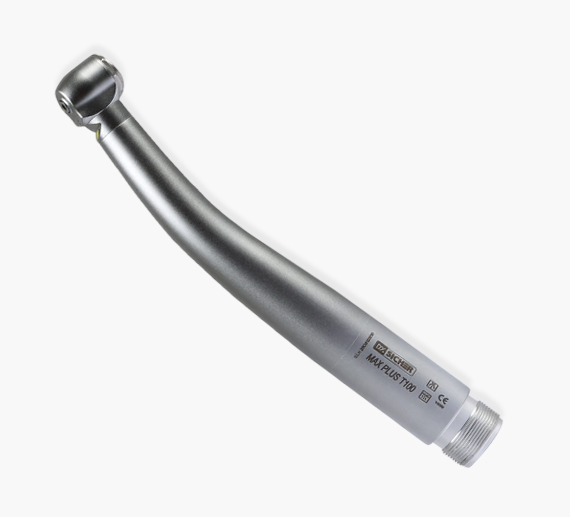
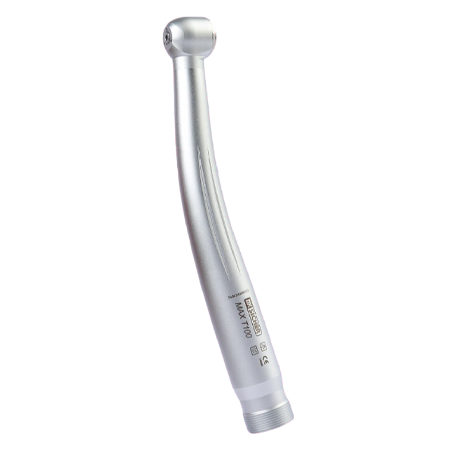
Proper maintenance of your dental airotors is key to keeping them in great shape and ensuring the best care for your patients. Regular upkeep not only boosts the longevity of your tools but also safeguards hygiene and performance in your practice. In this guide, we’ll walk you through the essential steps to help you maintain your airotors effectively.
1. Flush the Water Line
Why it’s important:
Daily water line flushing is a simple but crucial step to prevent dust and debris from entering the airotor. This basic routine helps maintain the cleanliness and efficiency of your equipment.
How to do it:
Each day, run water through the dental unit’s tubing for 30-40 seconds before attaching the airotor. This clears out any particles in the water line, making sure your airotor stays clean and functions smoothly.
2. Preparation
Wear PPE:
Always put on your personal protective equipment (PPE) like gloves, a mask, and eye protection before handling contaminated instruments. This is important for your safety and hygiene.
Disconnect the Airotor:
Once you’re geared up, disconnect the airotor handpiece from the dental unit to begin the cleaning process.
3. Pre-Cleaning
Remove Surface Debris:
Gently wipe the exterior of the airotor with a soft, damp cloth to remove visible debris such as blood, tissue, or fluids. This is an important first step to prevent any dirt from interfering with the more detailed cleaning.
Use Handpiece Cleaner:
Apply a specific handpiece cleaner to the air and water channels. This will loosen up any debris inside the airotor, making it easier to remove.
Rinse:
Use distilled or filtered water to rinse the cleaner from the handpiece. Be sure to get rid of all traces of the cleaner before moving to the next step.
4. Cleaning
Manual Cleaning:
Use a soft brush to gently clean the exterior of the airotor and any hard-to-reach areas. Avoid excessive scrubbing, as this could damage the surface of the handpiece.
Ultrasonic Cleaning (Optional):
If you want a deeper clean, place the airotor in an ultrasonic cleaner. This helps dislodge particles, like blood or tissue, that are stuck in places you can’t easily reach manually.
Drying:
Before continuing, make sure the airotor is completely dry. Moisture left inside could affect the handpiece’s performance or even damage its internal components.
5. Lubrication
Regular Lubrication:
Keeping the airotor well-lubricated is essential for smooth operation. Apply high-quality handpiece oil regularly to the internal components. This prevents wear and tear, ensuring the handpiece lasts longer.
Lubrication Machines:
If available, use an automated lubrication system. These machines provide a consistent amount of oil, helping to make sure the internal parts stay well-maintained without over- or under-lubricating.
6. Sterilization
Wrap the Airotor:
Place the cleaned and lubricated airotor in a sterilization pouch before autoclaving. Proper sealing is important to ensure effective sterilization.
Autoclaving:
Sterilize the airotor according to the manufacturer’s instructions in an autoclave. This process eliminates bacteria, viruses, and spores, ensuring the tool is safe for the next patient.
Check Sterilization Indicators:
After autoclaving, confirm that sterilization indicators, like color-changing pouches, show that the sterilization process was successful.
7. Storage
Store in a Clean Environment:
Once sterilized, store your airotor in a clean and dry space. Proper storage keeps the instrument sterile until it’s time to use it again.
8. Routine Maintenance
Post-Use Flushing:
After using the airotor, reconnect it to the dental chair and flush it with water. This will help clear out any remaining debris or material inside the handpiece, keeping it clean for future use.
Replace Worn Parts:
Regular maintenance by a certified technician is crucial. They can replace worn components and keep your airotor working at its best, ensuring it remains reliable and efficient over time.
Why Maintenance Is Key
Hygiene:
Flushing water lines daily and cleaning after each use helps keep debris, dust, and microorganisms at bay. This protects not only your equipment but also your patients.
Sterilization:
Using an autoclave to sterilize your instruments is the most effective way to remove harmful microorganisms. It’s a must for patient safety.
Durability:
By regularly cleaning, lubricating, and maintaining your airotor, you ensure it stays in top working condition. This can help prevent unnecessary breakdowns and extend the life of the handpiece.
Conclusion
A well-maintained airotor helps protect both the health of your patients and the smooth operation of your dental practice. By following these simple steps, you can keep your airotors in top condition, ensuring they work efficiently and safely for every procedure. Taking a few extra minutes for proper care will save you time, money, and headaches in the long run.
Have more questions about maintaining your dental handpieces? Contact us to get free technical support for cleaning, lubricating, and sterilizing your equipment.