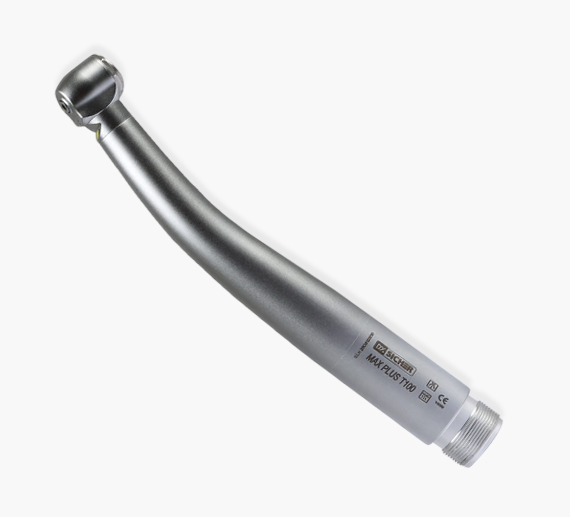
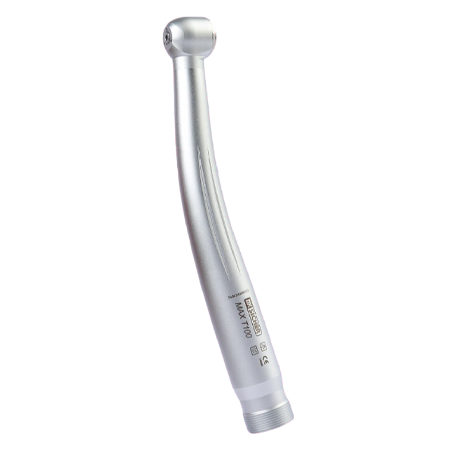
In a busy dental clinic, proper dental handpiece maintenance is essential to ensure the longevity and performance of your equipment. Cleaning and lubricating your dental handpieces regularly isn’t just about making them look nice; it’s about making sure they function well and keep patients safe.
You can think of it as giving your dental gear a tune-up to keep everything working smoothly and free from germs. It helps protect both your patients and your team from getting sick. Additionally, regular cleaning and lubrication are essential steps in dental handpiece maintenance that help preserve the functionality and hygiene of dental equipment.
Here, we’ve clearly outlined the steps for cleaning and lubricating dental handpieces. Let’s take a look!
Steps in Cleaning Dental Handpiece
Step 1 : Flushing Out Residue
To begin, run the handpiece for about 20-30 seconds. This helps to clear out any remaining air and water.
Step 2 : Disconnecting from Air Tubing
Carefully remove the handpiece from the air tubing or swivel to make sure you can clean it properly.
Step 3: Surface Cleaning with Isopropyl Alcohol
Use isopropyl alcohol on a soft cloth or brush to wipe the whole handpiece. Don’t dunk it in water or any cleaning liquid to prevent harm.
Step 4: Precision Cleaning with Cotton Swabs
Clean the back of the handpiece by using a cotton swab dipped in alcohol on the light parts and inside surface where it connects to the air tubing or swivel. Be careful and thorough when cleaning.
Step 5: Thorough Drying
Once cleaned, ensure the handpiece is thoroughly dried to prevent any moisture-related issues.
Dos and Don’ts of Cleaning Dental Handpiece
DO: Clean your handpieces right after each patient to make it easier and to lower the chance of germ buildup.
DON’T: Avoid using chemical wipes, disinfectant sprays, or ultrasonic cleaners because they can damage the handpiece’s outer covering and may cause it to rust or break sooner.
Steps in Lubrication Procedure of Airotor Handpiece
Step 1: Confirmation and Orientation
Make sure the bur is securely in the handpiece’s chuck, then flip the handpiece upside down. Don’t ever use the handpiece without the bur properly inserted.
Steps 2: Conical Red Tip Applicator
Assemble the conical red tip applicator into a Handpiece Lubricator.
Step 3: Lubrication Process
Put three drops of lubricant into the drive air tube or slot at the back of the handpiece to make sure the bearings get enough lubrication.
Step 4: Running the Handpiece
Reattach the handpiece to the air tubing or swivel and run it for 20-30 seconds to remove any extra lubricant. Then, take out the bur from the chuck.
Step 5: Thorough Drying
After lubricating, carefully dry the outside part of the handpiece.
Dos and Don’ts for Effective Airotor Handpiece Lubrication
DO: Run the handpiece for enough time to stop too much lubricant from thickening during sterilization, making sure it works well.
DO: Whether you’re lubricating by hand or with a dental tool, run the handpiece on a white paper towel until only clean lubricant comes out for the best results.
Find out how proper lubrication can help your dental tools last longer, saving you money on costly repairs and replacements in the future.
Steps in Dental Handpiece Sterilization Process
Sterilization methods may differ, and it’s crucial to follow the manufacturer’s instructions. Here’s a simple guide on how to prepare and handle your instruments before and after sterilization:
Step 1: Prepare the Bur
Remove and clean the bur, placing it in an autoclavable bur block for the sterilization process.
Step 2: Bagging the Handpieces
Use designated bags for your handpieces, ensuring one per bag, and seal them properly to maintain a sterile environment.
Step 3: Loading into Trays
Load the handpieces into instrument trays or standard sterilization trays, making sure not to exceed the sterilizer manufacturer’s load capacity guidelines.
Step 4: Autoclave Run
Run the autoclave based on the type:
Gravity Type Autoclave: Minimum of 15 minutes at 132°C or a minimum of 30 minutes at 121°C. Do not exceed 135°C.
Pre-Vacuum Autoclave: Minimum of 4 minutes at 132°C.
Step 5: Drying and Cooling:
Dry the handpiece for a minimum of 30 minutes using the sterilization dry cycle. Allow the handpiece to cool in the bag before use. If moisture is present, adjust the sterilizer dry cycle.
Step 6: Return to Room Temperature:
Allow handpieces to return to room temperature in their sterilization bag before using on a patient.
Dos and Don’ts for Effective Handpiece Sterilization
DOs: Follow the machine’s user instructions regarding capacity or load limits for proper sterilization.
DON’T: Run dental handpieces under water to cool them down, as this can damage the turbine and/or bearings.
Conclusion:
By following proper dental handpiece maintenance routines, such as regular cleaning and lubrication, you not only ensure the longevity of your equipment but also uphold excellent hygiene practices in your clinic. Regular maintenance isn’t just a routine; it’s a commitment to providing top-notch care for both your instruments and, most importantly, your patients.
Questions about lubricating, cleaning, or sterilizing your dental handpieces? Reach out to us, and our technical team will provide free assistance to your team.